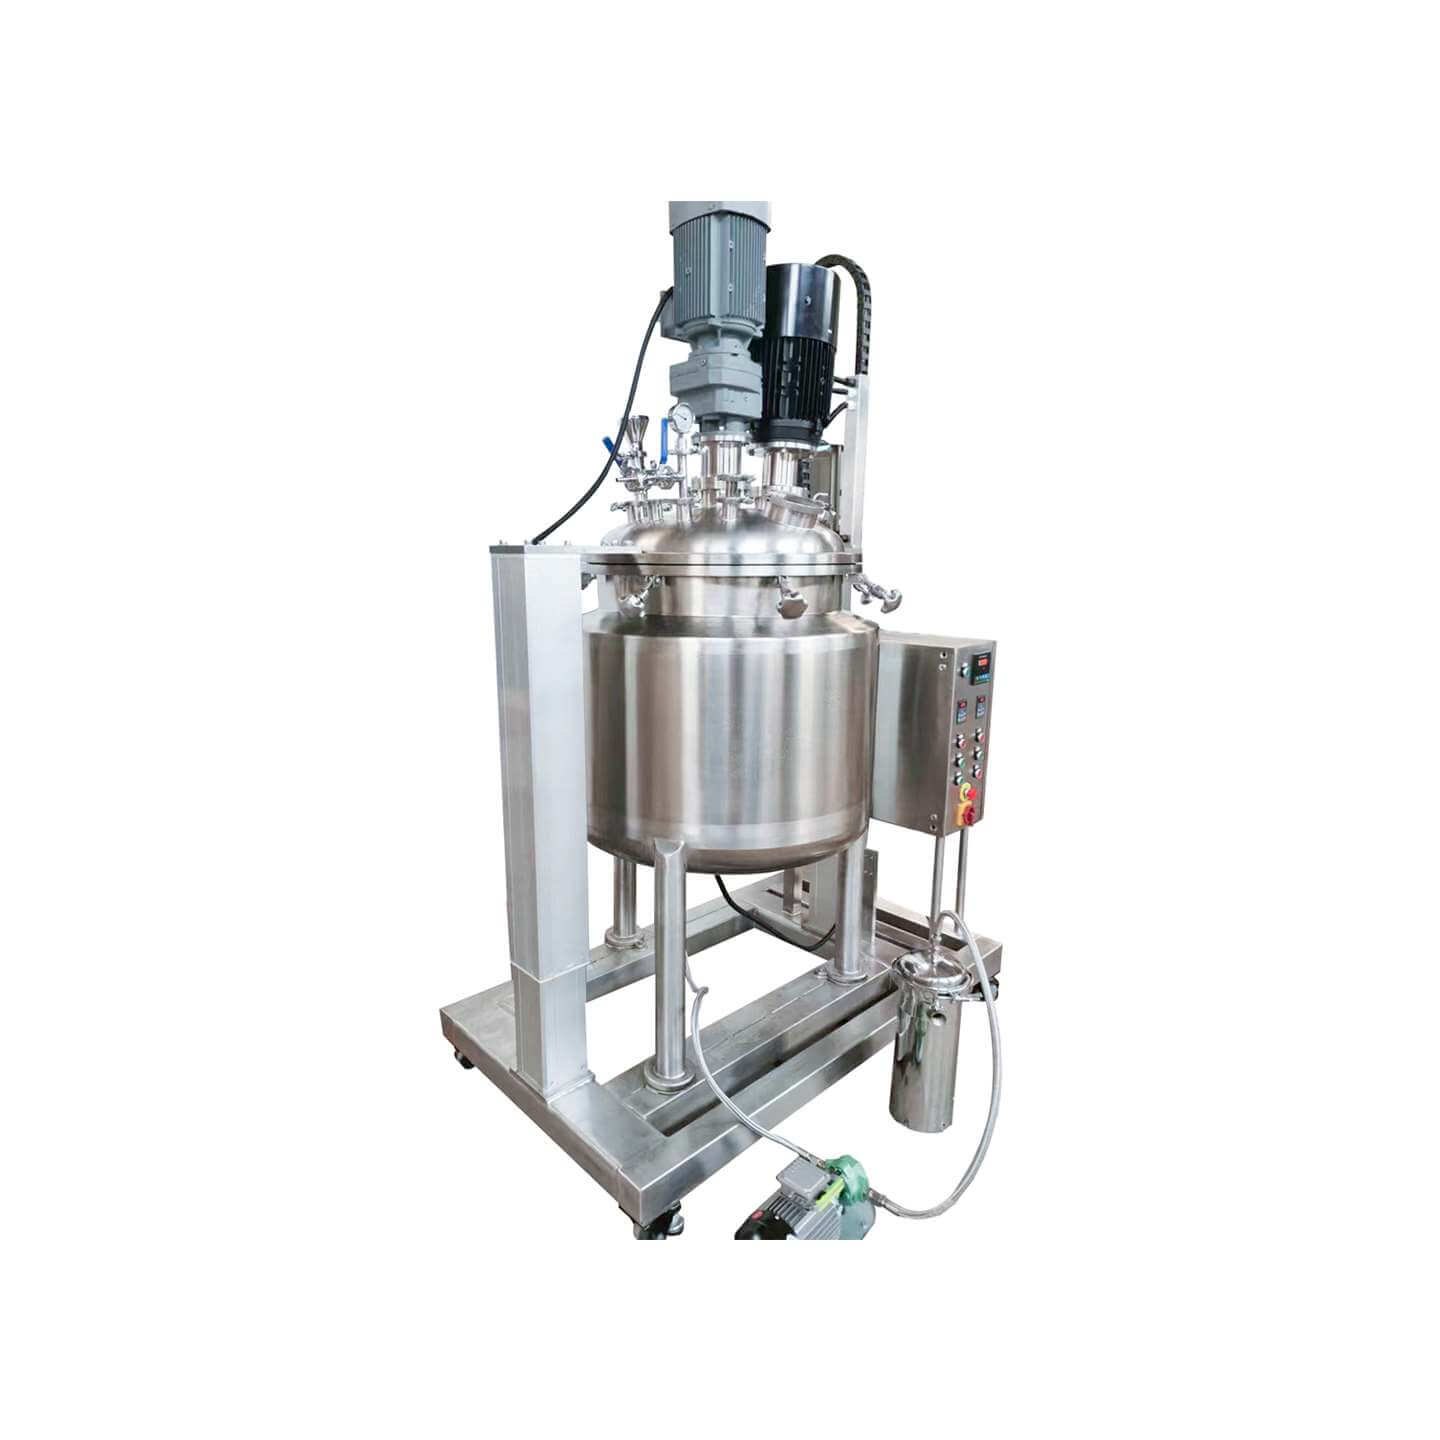
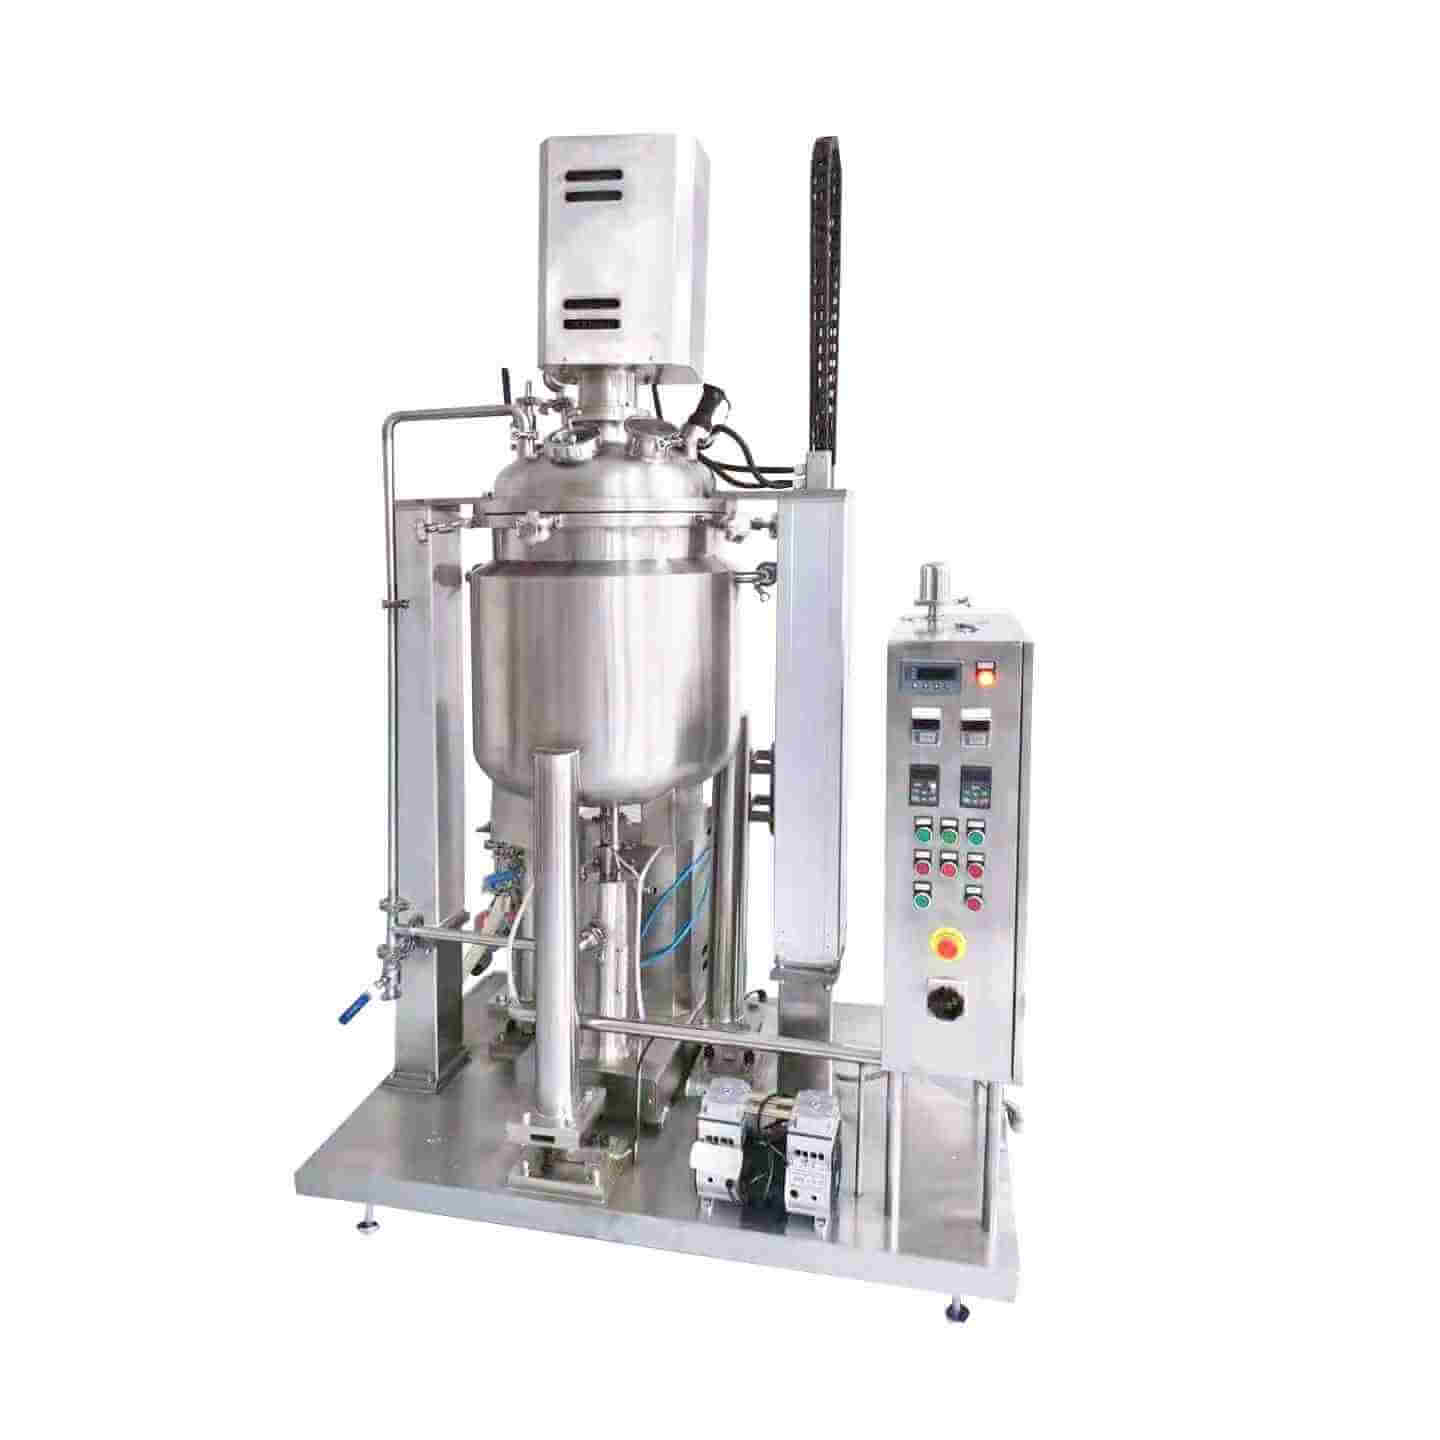
Laboratory Reactor
Laboratory reactor: used in the chemical industry, pesticide, paint, and other fields
Material
glass, stainless steel (316, 304), carbon steel, others
Capacity (L)
10-10000+
Mixing system
anchor, paddle, frame and others
Heating system
electric heating, oil heating and others
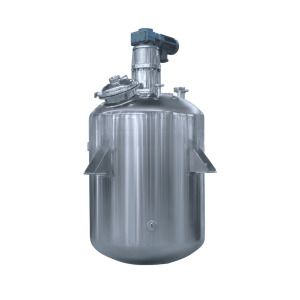
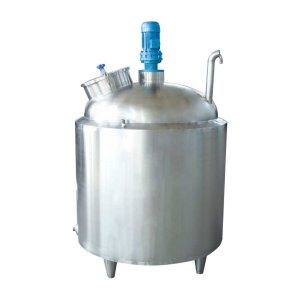
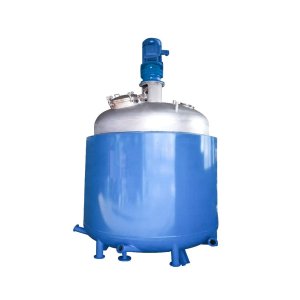
The laboratory reactor is small in size, beautiful in appearance, light, and fast in installation. It is composed of a pot body, pot cover, stirrer, jacket, support and transmission device, shaft sealing device, etc. The type of stirring device, rotation speed, sealing structure, heating method, etc. are produced.
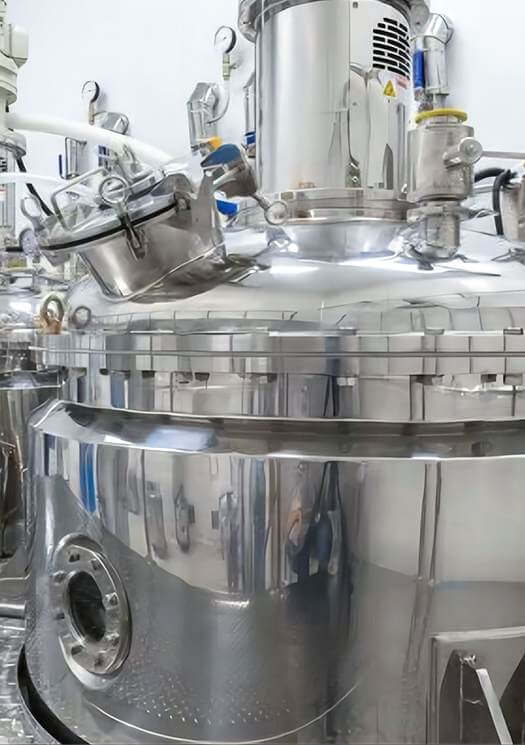
Request a quoteThe kettle body and lid of the laboratory reactor kettle use line contact with gaskets conical surfaces or arc surfaces to tighten the main nuts so that they are in close contact with each other, thereby improving the sealing effect. When tightening the laboratory reactor kettle nut, you need to tighten it several times with diagonally symmetrical force to make the force uniform so that the laboratory reactor kettle cover does not tilt to one side to achieve a good sealing effect. Tighten the main nut. The specified tightening torque is 40~120N to prevent sealing surface damage or overload wear. Cannot exceed the range.

Laboratory reactor operation steps
1. The laboratory reactor should be placed indoors. When equipped with multiple high-pressure units, they should be arranged separately. Each studio must have direct access to the outdoors or passage and ensure that equipment locations are well-ventilated.
2. When installing the lid of the laboratory reactor kettle, the sealing surfaces between the kettle lids should be prevented from colliding with each other. Carefully place the kettle lid on the kettle in a fixed position and tighten the main nut diagonally and symmetrically several times. In order to make the force even, prevent the cauldron lid from tilting to one side to achieve a good sealing effect.
3. At the connection between the front and back nuts, only the front and back nuts can rotate, and the two arc sealing surfaces cannot rotate relative to each other. All nut-type fittings should be lubricated during assembly.
4. The needle valve pipeline is sealed. You only need to gently rotate the valve needle and press the cap hard to achieve a good sealing effect.
5. Use the rotating body of the manual kettle to confirm whether the operation is flexible.
6. The laboratory reactor controller should be placed flat on the workbench, the working environment temperature should be 10-40°C, the relative humidity should be less than 85%, and the surrounding medium does not contain conductive dust and corrosive gases.
7. Check whether the driving components and fixing pins of the laboratory reactor panel and rear panel are normal. Open the cover and check whether the plug-in contacts are loose and whether there is any damage or corrosion caused by poor transportation and storage.
8. The laboratory reactor controller should be reliably grounded.
9. Connect all wires including the power cord, the wire between the controller and the kettle, the wires, the temperature sensor, and the speedometer wires.
10. After turning off the “power” main switch on the panel, there should be a digital display. Set various parameters (such as upper limit alarm temperature, operating temperature, etc.) on the laboratory reactor digital display, then press the “heating” switch, and the electric furnace will turn on. The “Heating” switch indicator light is on. Adjust the “Voltage Adjustment” handle to adjust the heating power of the electric furnace.
11. Press the “Stir” switch to mix the motor power. At the same time, the indicator light on the “stirring” switch lights up, slowly turn the “speed adjustment” handle, let the motor rotate slowly, and observe whether the motor is rotating forward. If there is no error, stop the belt and restart it.
12. After the operation is completed, it can be cooled naturally, water-cooled, or cooled on the stand. After the temperature drops, release the negative pressure gas, reduce the pressure to normal pressure (the pressure gauge displays 0), loosen the main nut symmetrically and evenly, remove the main nut, carefully remove the auxiliary cover, and place it on the bracket.
13. After each work is completed, the residue on the cauldron body and cauldron cover should be removed. The main seal entrance should be cleaned frequently and kept clean, and should not be wiped with hard objects or rough surfaces.