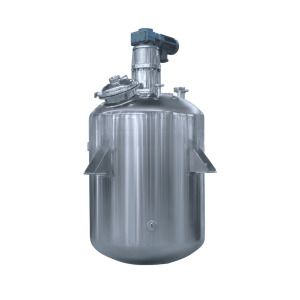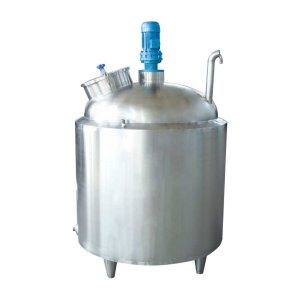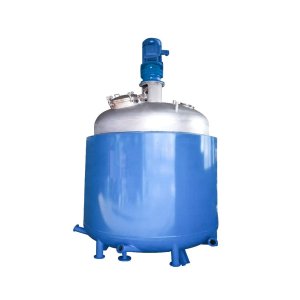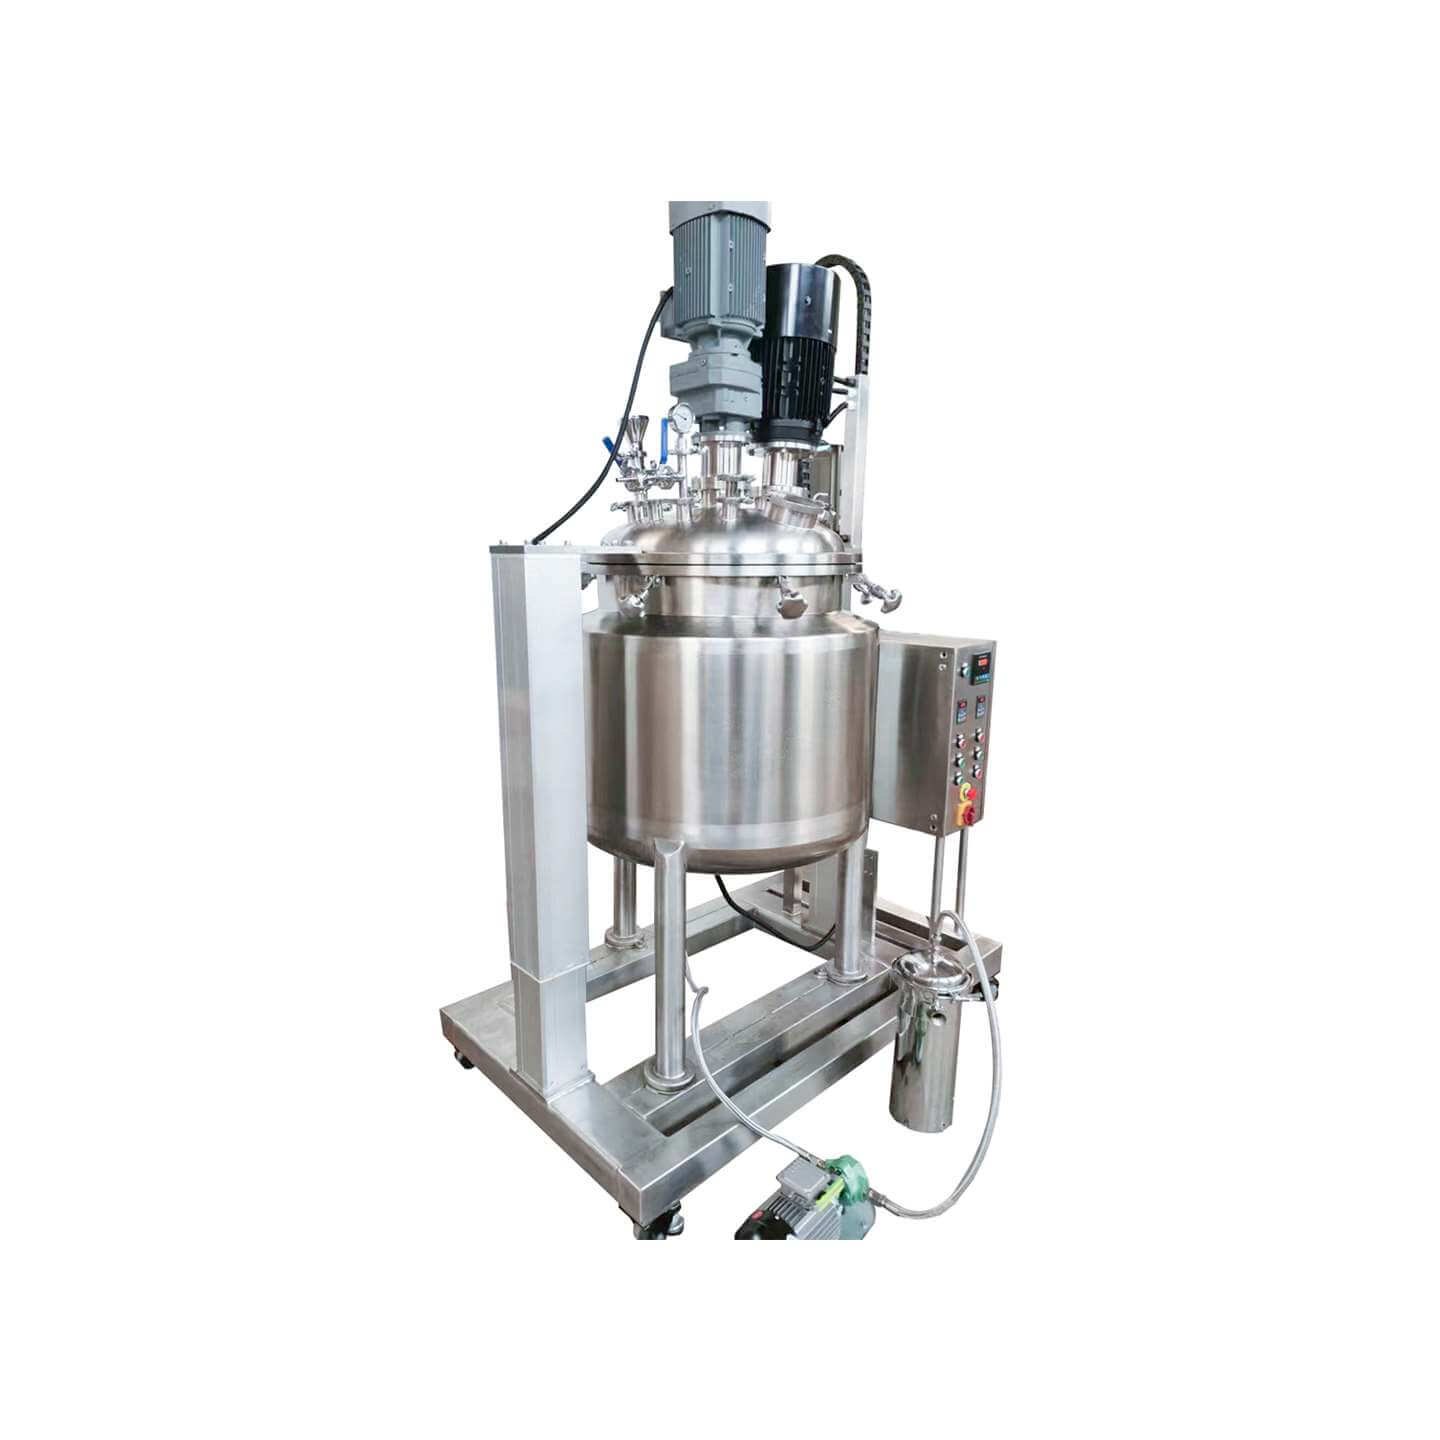
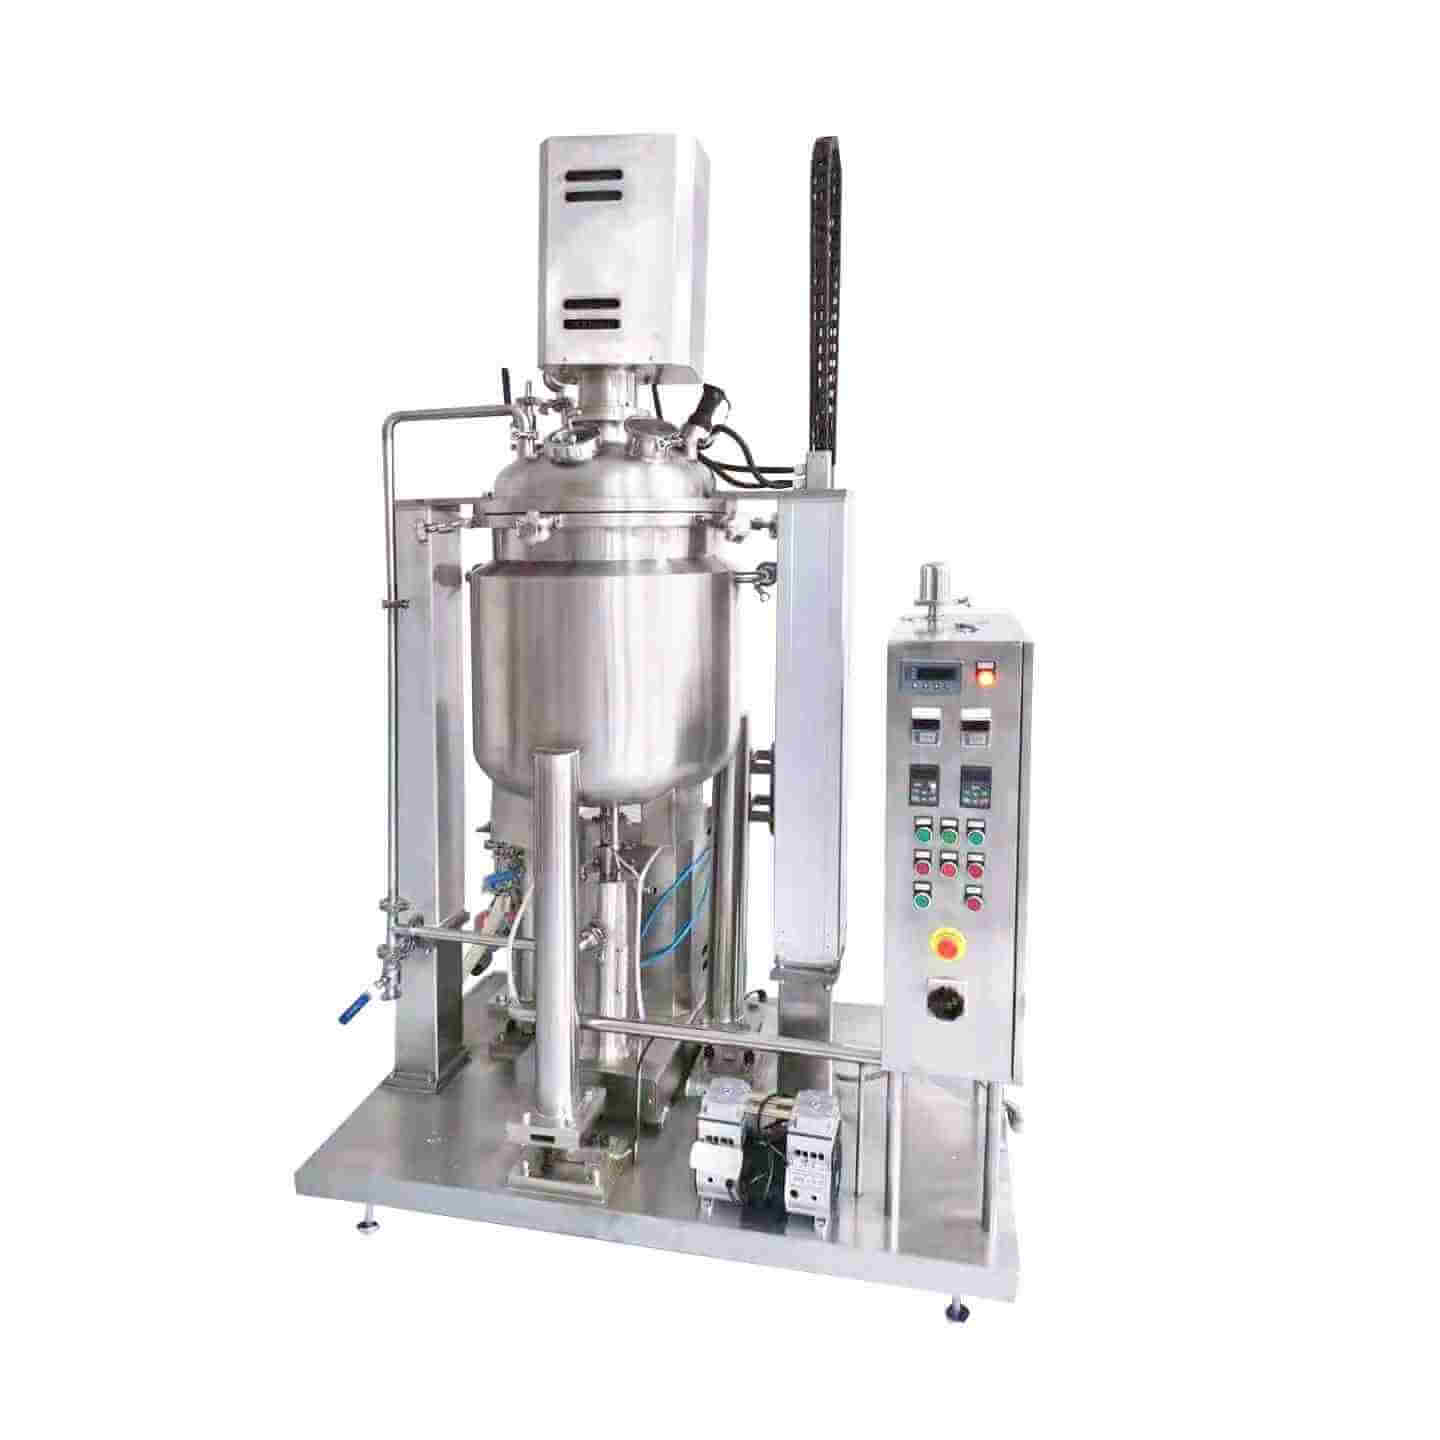
Laboratory Reactor
Laboratory reactor: used in the chemical industry, pesticide, paint, and other fields
Material
glass, stainless steel (316, 304), carbon steel, others
Capacity (L)
10-10000+
Mixing system
anchor, paddle, frame and others
Heating system
electric heating, oil heating and others
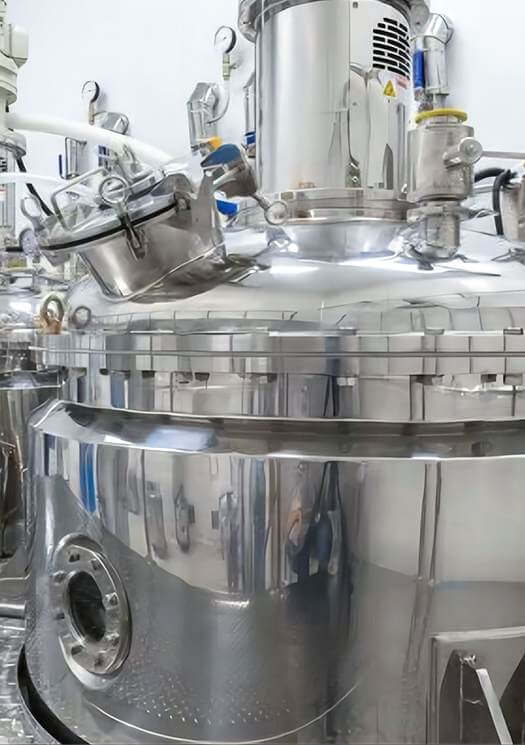
The laboratory reactor is small in size, beautiful in appearance, light, and fast in installation. It is composed of a pot body, pot cover, stirrer, jacket, support and transmission device, shaft sealing device, etc. The type of stirring device, rotation speed, sealing structure, heating method, etc. are produced.
Request a quoteWhen the laboratory reactor is installed, it needs to meet certain conditions, including installation location, installation accessories, installation method, testing, cleaning, etc. If you do not pay attention to these, it is likely to cause an explosion during the experiment. Dangerous, how do experienced engineers complete the installation and application of laboratory reactors?

(1) Installation location: The reactor should be installed in a high-pressure operation room that meets the explosion-proof requirements. When equipped with multiple reactors, they should be placed separately. Every two reactors should be separated by a safety blast wall. Each operating room should have outdoor passages and exits. Equipment should be well ventilated when explosive media are present.
(2) After opening the package, check whether the equipment is damaged, install the equipment according to the equipment model and structure diagram, and find out the equipped parts according to the packing list. If the heating method is electric heating with heat-conducting oil, please purchase the corresponding type of heat-conducting oil according to the operating temperature (note: the heat-conducting oil is not allowed to contain moisture). When adding, open the oil filling port in the upper part of the jacket and the oil level port in the upper middle part of the jacket. Add oil through the oil filler port until the oil level port flows out, then screw the oil level port firmly. Do not tighten the oil fill port to avoid pressure.
(3) Installation and sealing of the pot body and the pot cover: the pot body and the pot cover are in line contact with the arc surface through the gasket or the conical surface, and are pressed against each other by tightening the main nut. When tightening the nut, it must be tightened diagonally symmetrically and gradually, with even force, and the lid is not allowed to tilt to one side to achieve a good sealing effect. When tightening the main nut, it should not exceed the specified tightening torque range of 40 ~ 120 Nm. To prevent the sealing surface from being squeezed or worn by overload, special attention should be paid to the sealing surface. Before each installation, the upper and lower sealing surfaces should be wiped clean with a soft paper or cloth. Special care should be taken not to scar the sealing surfaces of the body and lid. If the operation is reasonable, it can be used more than ten thousand times. After the sealing surface is damaged, good sealing performance can be obtained by rework and repair. When removing the lid, the lid should be raised and lowered slowly to prevent the sealing surfaces between the body and the lid from colliding with each other. If gasket sealing is used (tetrafluoroethylene, aluminum gasket, copper gasket, asbestos gasket, etc.), tighten the main nut to achieve a good sealing effect.
(4) The installation of valves, pressure gauges, and safety valves can achieve a sealing effect by tightening the positive and negative nuts. The arc sealing surfaces at both ends of the connection must not rotate relative to each other. When assembling all threaded joints, graphite mixed with lubricant or oil must be applied to avoid killing. Valve use: The needle valve is sealed by a thread, just turn the valve needle slightly and press the valve cover to achieve good sealing performance. Excessive force is prohibited to avoid damage to the sealing surface.
(5) After the equipment is installed, a certain amount of nitrogen is introduced to maintain the pressure for 30 minutes to check for leaks. If you find a leak, use a soapy bubble to find leaks in pipes and nozzles. Once found, release the gas and tighten. Pour nitrogen into the test again to ensure the normal operation after no leakage.
(6) When cooling, the cooling coil can be used for internal cooling with water, and rapid cooling is prohibited to prevent the temperature difference stress from being too large, causing the cooling coil and the kettle body to crack. When the temperature in the kettle exceeds 100℃, the water jacket between the magnetic stirrer and the kettle cover should be filled with cooling water to ensure that the water temperature is lower than 35℃ to avoid demagnetization of the magnetic steel.
(7) Safety device: made of stainless steel, manufactured by the national standard GB567-89 “Technical Conditions for Arched Metal Blasting”. It has been tested before leaving the factory and cannot be adjusted arbitrarily. If it has exploded, it needs to be replaced. The replacement period is determined by the user unit according to the actual situation of the unit. If it exceeds the bursting pressure of the bursting disc but does not burst, it is better not to exceed 80% of the lower limit pressure of the bursting disc during frequent use. When replacing, pay attention to the convex surface of the rupture disc.
(8) After the reaction is completed, the temperature is first lowered, and then the gas in the kettle is discharged to the outside through the pipeline so that the pressure in the kettle is reduced to normal pressure. It is strictly forbidden to disassemble under pressure, then loosen the main bolts and nuts symmetrically, then carefully remove the lid (or lift the lid) and place it on the stand. During cover removal, special care should be taken to protect the sealing surfaces.
(9) Cleaning in the kettle: After each operation, clean the residue of the kettle body and the sealing surface with cleaning liquid (use cleaning liquid to avoid corrosion of the main material), and clean it frequently to keep it clean. Cleaning with hard or rough surfaces is not allowed.